Blender:Video-Stabilisation
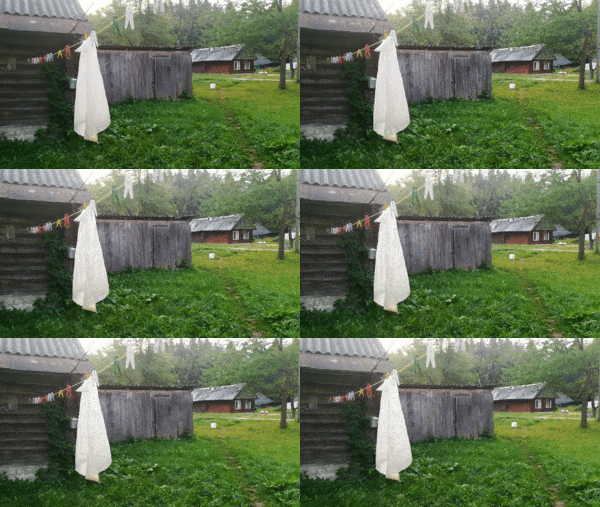
Video Stabilisation of stationary scene. (Removing camerashake and rotation)
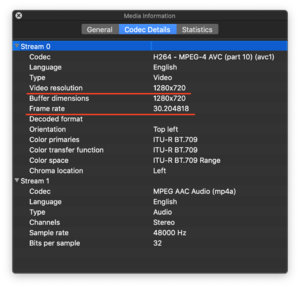
1. Find out what is Resolution and FPS of video. This can be done with VLC player:
1) On Mac - CMD+I opens Media information - Codec Details tab.
2) On other platforms maybe CTRL+I or from menu find Media information. And go to Codec Details tab.
Then look at Video resolution and Frame rate.
2. Set FPS and Resolution to Blender.
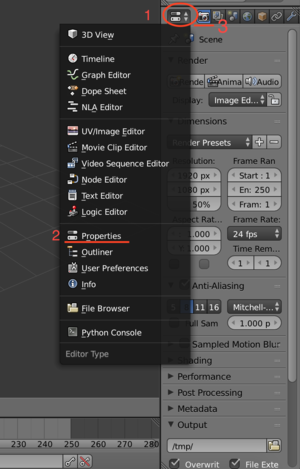
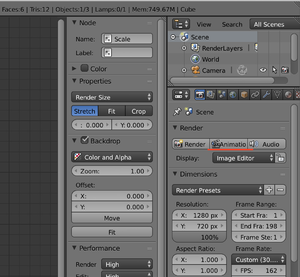
1) Open Blender. In the right hand side menu open Properties window and Render tab.
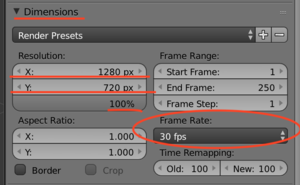
2) In Dimensions submenu use the right Resolution and put 100%. Use correct FPS.
3. Other rendering settings.
1) Set Anti-Aliasing and Post Processing - Sequencer
2) Set Output and Encoding options. (FFmpeg might be necessary to install via package manager or from online page)
4. Inserting Video
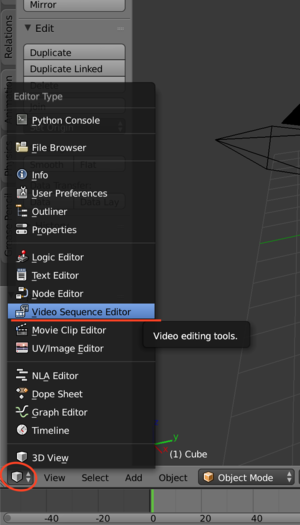
1) Go to Video Sequence Editor
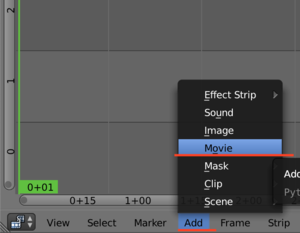
2) Add Movie clip
3) Remove Video part (will be added later) with DEL or X (Mac) key
4) Change Blender Preview length to length of clip
5) Enter Movie Clip Editor
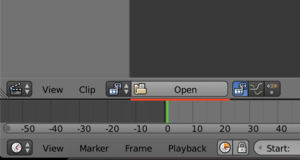
6) Open the same clip.
5. Video Stabilization - Tracks 1) Set Options for tracking Location and Rotation
2) Make sure that you are on the first frame or go there via the "Jump to first frame" button. (For Advanced users: if you specially want to stabilize specific frame to specific frame - not whole clip, then go to first frame of area and click ALT+Right Arrow till the wanted point)
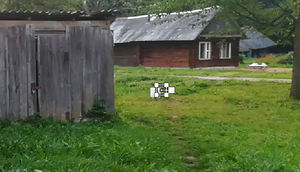
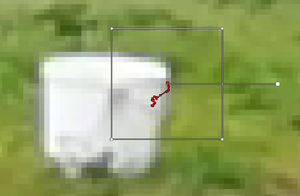
3) CTRL+Click on high contrast point in scene.
4) Press CTRL+T to track all frames forward (location of point).
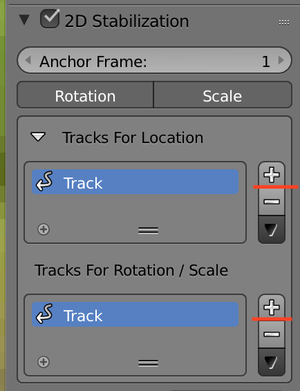
5) In the 2D Stabilization Property add the made track to Location and Rotation list.
Now repeat steps 2-5 for 3 or 4 points as far from the center as possible without points getting lost in motion - this gives best results. It should look like this:
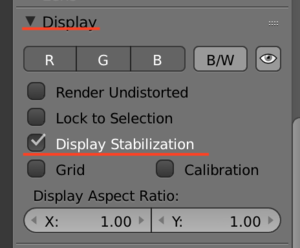
6. Video Stabilization - Configuring parameters of correction 1) Enable showing stabilization in Viewer. Under Display submenu (right) open Display Stabilization
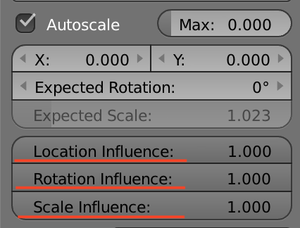
2) Now if you want to stabilize without any out-of-video areas enable Autoscale and set it to 0. (or play with this till satisfactory result)
3) Also it's possible to leave in some unwanted camera motion with the Location, Rotation and Scale Influence parameters. (for example when the stabilized frame becomes too small)
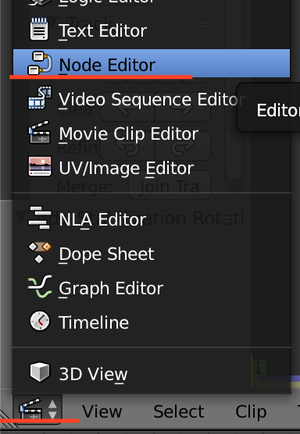
7. Getting ready to render 1) Go to Node Editor.
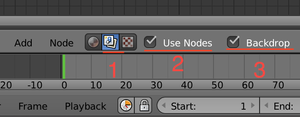
2) Display nodes and backdrop
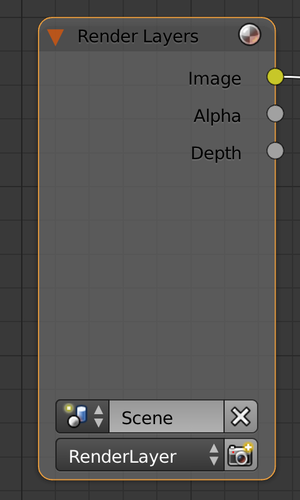
3) Remove "Render Layers" node with Del or X (Mac)
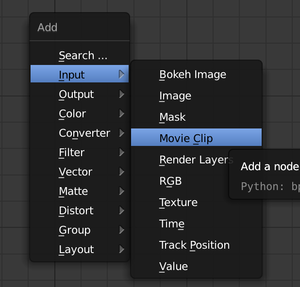
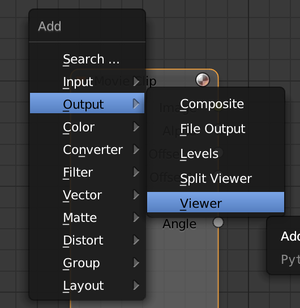
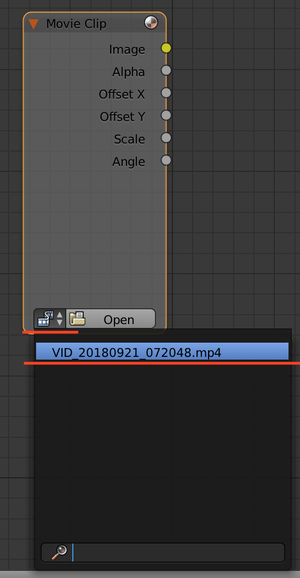
4) Press Shift+A and Input - Movie Clip.
5) Also add output Viewer
6) Select movie clip from input node.
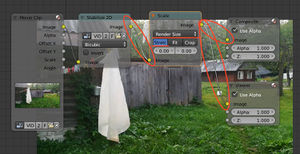
7) Add Stabilize node: Shift+A - Distort - Stabilize 2D
8) Connect it to input and output, set input file. Also set to Bicubic for better quality.
9) Add Scale node right of Stabilize node: Shift+A - Distort - Scale 10) Connect inputs and outputs, put right settings.
8. Render In the right side menu find Render submenu and Animation button
Now the project should render and output to your previously configured location the result file :)
